Before starting stitching, you first need to set up your sewing machine — winding the bobbin, threading, and more. It may appear challenging and intimidating on your first try. However, after multiple assignments, you will undoubtedly get the hang of it.
Threading is one vital step before you start sewing with your sewing machine. However, aside from sewing machines, you also do threading for a Serger, which is rather different from a sewing machine.
There are several differences between a serger and a sewing machine. A serger machine usually applies an overlock stitch. On the other hand, sewing machines usually apply a lockstitch and sometimes a chain stitch. Aside from that, serger machines usually have more than two thread sources. If we put it simply, a serger machine is a kind of specialty sewing machine.
Going back to threading, it is a process wherein you load the upper thread and lower thread on the serger or sewing machine you are using. After that, it’s up to the machine to weave the threads that you put in together to produce stitches on your fabric.
Every serger machine may have different ways of threading. However, there are some steps that almost all types of serger machines employ. So if you are using this serger machine for the first time and are still figuring out the proper way of threading, reading the machine’s instruction manual will be of great help.
Now, if you are one of the people who own a Singer Serger Machine, then this blog is for you, as it will tackle all about the Singer ProFinish Serger and threading it. As you all know, Singer is among the most trusted sewing machine brands globally, and the Singer ProFinish Serger is one of the best serger overlocking machines, especially for beginners.
Singer ProFinish Serger
A serger is quite more difficult to figure out than a sewing machine. However, using a Singer ProFinish Serger would make it easier, especially for beginners. This machine has high efficiency and would help you learn more about using a serger machine.
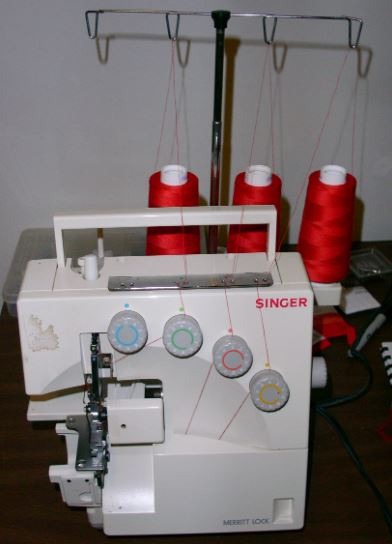
The nice thing about the Singer ProFinish Serger is that it offers a wide variety of stitch choices, which is helpful when achieving a smooth and wonderful edge. It also has a flexible stitch length and width, color-coded lay-in threading, and a differential feed, which are all very handy when stitching.
The serger’s differential feed will allow you to sew creases even on hard and challenging textures without worrying about it bending or puckering. This feature will assure you of perfect seams on any fabric or material. It also has a 2-3-4 string ability, which is very helpful for fast sewing and will help you with creases and wrapping up. The Free Arm feature will also help you sew sleeves effectively with the serger and assist you when sewing a tough fabric or material.
You can move the flexible stitch length and width to different angles so they can be compatible with different textures. You may also use different types of strings since the strains of the Singer ProFinish Serger would easily adapt to them. This serger machine has a shading-coded stringing framework, making it easier for people to set up, string, and change the strings of this machine.
Why you should buy the Singer ProFinish Serger
- It is very accessible, has high speed and efficiency, and can sew 1300 SPM.
- Every feature of this machine will result in a beautiful and flawless product.
- It is small and lightweight, so it’s movable and easy to bring anywhere. They also give you a carry handle upon purchasing to bring your serger machine anywhere.
- Singer ProFinish Serger can be operated and figured out easily, unlike other sergers. The product also comes with an instruction video DVD, which allows for easier setting up and operating of the machine. The DVD also provides instructions if you encounter problems with your Singer ProFinish Serger.
- It has excellent and useful features such as adjustable tension, color-coded threading, and flexible stitch width and length.
- Singer Profinish Serger comes with a small and handy knife that you can use when trimming the fabric or material with no hassle.
- You can acquire this Singer ProFinish Serger machine at a very reasonable price. Even though it comes with advanced features, this serger machine is budget-friendly. This serger machine would be a great buy because it’s affordable, unlike other serger machines with almost the same features as the Singer ProFinish Serger.
Singer ProFinish Serger Threading
Singer ProFinish Serger threading is easy since the machine is already threaded and ready to use once it’s out of its box. Like what was said earlier, it comes with an instructional manual and a DVD which has videos about the machine’s features, step-by-step instructions on how to set up the machine, and all about the Singer ProFinish Serger threading process. If you also visit its website or the YouTube account of Singer, you will see their different Singer ProFinish Serger threading processes.
Other people find it difficult to learn the threading of this serger machine. However, if you read carefully, study the thread paths and threading order thoroughly, and repeat the Singer ProFinish Serger threading process several times, you will see that this machine is, indeed, easy to operate. You will eventually learn the art of this serger machine once you try threading a couple of times.
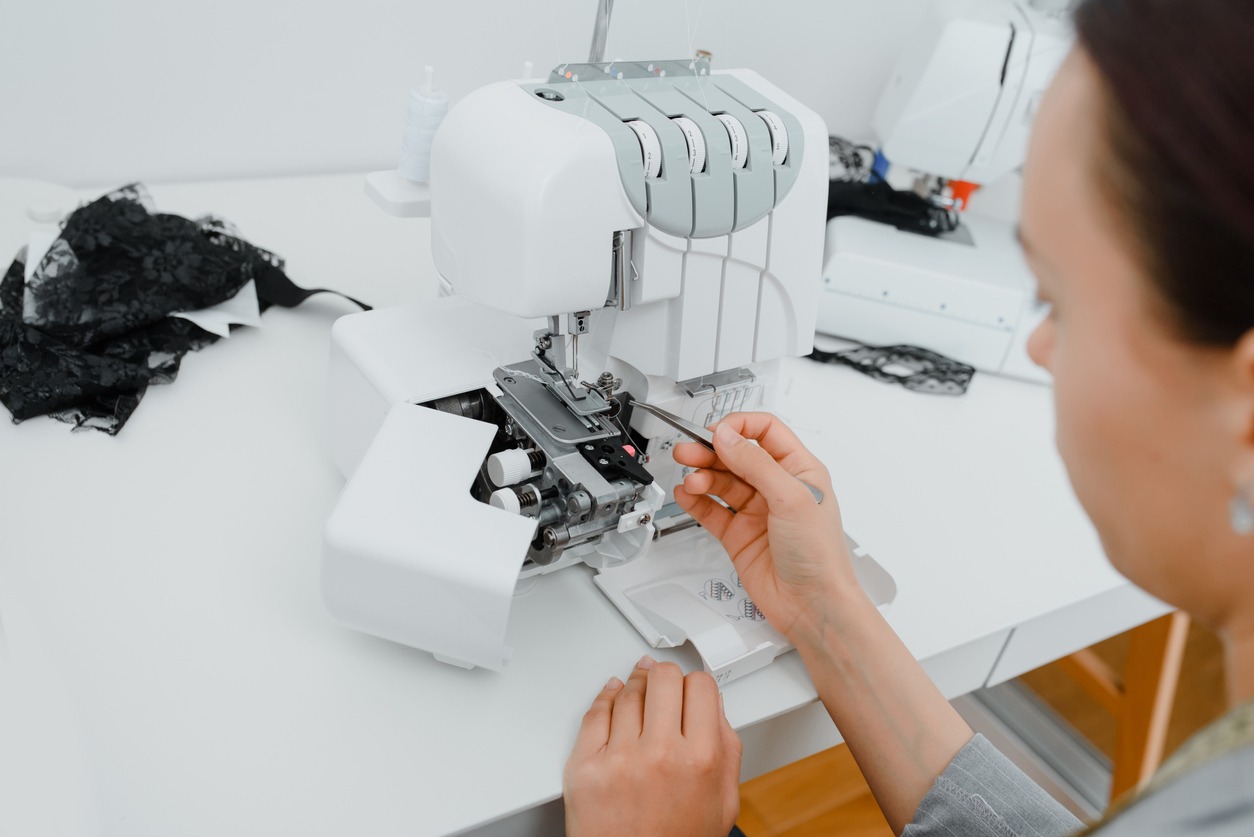
The Singer ProFinish Serger consists of two looper threads and two-needle threads. There are different ways to thread the Singer ProFinish Serger, one of which is the four-thread overlock. First, you’ll need to have handy your tweezer from inside your removable storage compartment and little scissors for cutting little thread ends.
To start, you need to open the looper cover. Raise the presser foot lifter to release the tensions to receive the thread. One thing to remember during Singer ProFinish Serger threading is to think of it as working from the center out – you’re going to do the loopers first and the needles last.
So you will start with the upper looper, followed by the lower looper. After the loopers are threaded, you are now ready to thread the needles. Remember, you need to thread from the center out, so you will start with the green needle thread, which is your right-hand needle. Then after that, you are going to thread the left-hand needle.
When the main door panel of the machine is open, you will notice that there is a decal consisting of information about the thread paths and threading order of this serger. This decal is a reminder whenever you forget about the Singer ProFinish Serger threading process.
According to most people, the yellow or lower looper is the only difficult one during threading. So for threading the lower looper successfully, make sure that it passes around the back of the looper protrusion and will be caught by the small notch, which you can’t see easily. You need to feel the lower looper to know it’s already inside the little notch. You may also use light from your cellphone or flashlight to see clearly during the Singer ProFinish Serger threading process.
Other threading paths, like the blue and green, are much easier. You may also use the tweezer included when purchasing the Singer ProFinish Serger Machine as a needle threader, or you may simply buy your needle threader, which is helpful when inserting needles.
Note that you can change the thread without unthreading your serger machine completely.


