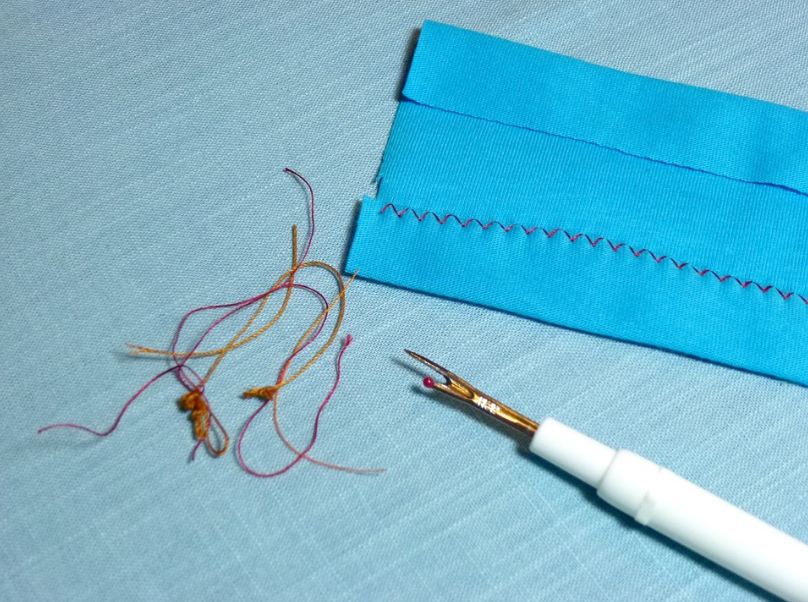
A seam ripper is a must-have tool for everyone who works with needles and thread. Unsewing is equally as vital as sewing in a great finished job. Seam rippers get used for removing stitches, open seams, cut strings, and open buttonholes.
What are Seam Rippers?
A seam ripper is a little sewing tool that exists used to cut and remove seams from clothing. A handle, shaft, and head are the most frequent components. A cutting surface is usually located at the base of the fork when the head is forked. One side of the ripper tapers to a sharp point to make insertion into tight stitching simpler.
Put the sharp point of the tool beneath the thread to be severed in the seam. The ripper gets moved vertically, allowing the thread to fall into the fork and the blade to rip through it.
Once the seam gets undone, remove the loose ends, and then re-sew them.
Types of Seam Rippers
There are different types of seam rippers. However, only a few are known and used by seam-workers.
1. U-shaped Seam Rippers
The first and the most common of the types of seam rippers is a U-shaped blade ripper. It has one pointy side of the U-shaped blade that is longer than the other. A little plastic ball exists placed on the other side for safety. The seam ripper’s sharp cutting edge is on the inside curve.
2. C-Shaped Seam Rippers
To remove serger and embroidery stitches C-shaped seam rippers are available. These C-shaped blades are surgically sharp and can remove a lot of stitches in a short amount of time. They can also swiftly rip holes in your fabric, so be careful.
The shape and length of the handles and thickness of the cutting tip are all factors to consider. The key differences are the extras offered in most seam rippers. There are built-in needle threaders, illumination, ergonomic grips, and other options.
Alternatives To The Seam Ripper
If you don’t have a seam ripper, here are some alternative tools that will help you remove stitches:
1. A Pair Of Scissors
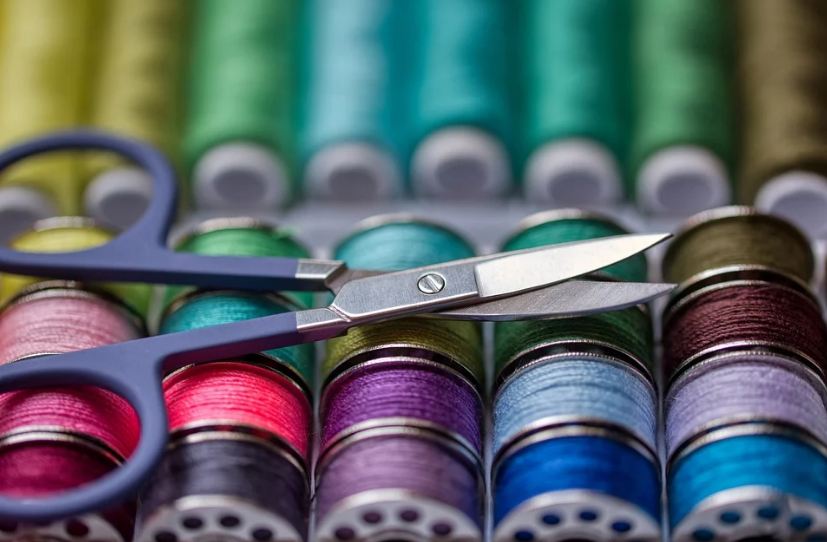
To cut through the center of your seam, use your beloved pair of fabric scissors. It would be even better if you had sharp pointy embroidery scissors on hand. It may be better to rip the seam open on one end and then cut the stitches as you pull the two sides apart. The amount of power you apply and the size of scissors you use will, of course, vary depending on the sort of seam, fabric, and thread you’re working on.
2. Thread Ripper Blade (Fabric Blade)
A sharp thread ripper might get used to cut through hand stitching. When working with super-strong Serger seams and other stitches, these fabric blades come in handy. However, you must be extremely careful not to nip the fabric and ruin the entire outfit in the process. Use the blades only as a last resort, especially if you’re only doing basic repairs or working with delicate fabrics like silk and cotton.
3. Toothpick
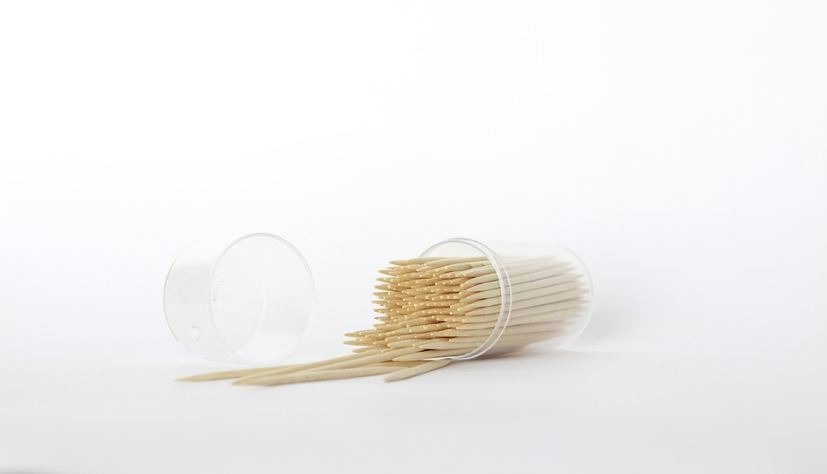
Choosing this as an alternative tool is only recommended when you do not own anything else to help you. Use a toothpick carefully and avoid using it if you have bad eyesight.
A good toothpick can help you pull a loose thread from a seam if you’re working with a delicate cloth.
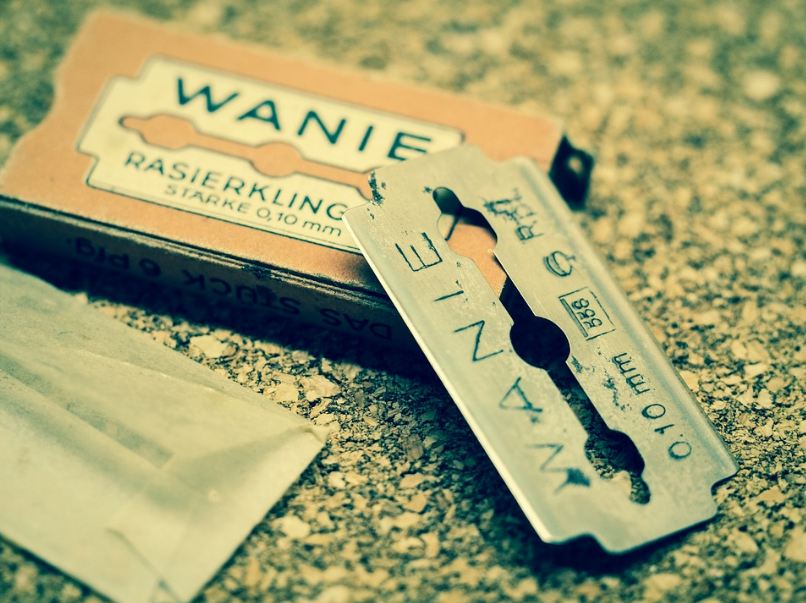
4. Razorblade
Razorblade is widely used as an alternative tool. However, make sure you’re an expert dealing with razors and have steady hands as they might harm you.
Using a razor blade isn’t hard to break the knots loose. Use the razor blade in the very same way you would a seam ripper’s inside. Everyone has used a razor blade to cut through stitches at some point. However, make sure you only snip the specified stitch places and not the underlying material.
How to Use The Alternatives?
Working without a seam ripper necessitates extra caution because the tools you’ll be utilizing are not for the task. Use them if you are addressing the main fault or performing repairs.
Here’s a closer look at removing a running stitch or similar stitch with short or long intervals.
1. Prepare your garment
When sewing a seam, make sure you’re working on the inside of the garment rather than the outside. It will keep you from causing visible harm to the cloth on the outside if you miss a thread or dig into it while trying to draw it out. Determine where the seam stitch began rather than where it ended. You’ll have an easier time eliminating the seam if you start from the beginning, and for the tighter and more difficult seam end, you could want to use a pair of scissors or a razor.
2. The Removal of Stitches
If it’s a basic running stitch then go ahead and do it. Plucking out the threads one by one, jumping every three stitches, is faster and safer. Don’t reap the entire seam by sinking the tool into the inside of the seam. If you were using a seam ripper, you wouldn’t do it either since it would rip your clothing apart.
3. Pulling The Thread
You can now backtrack and pull the free thread for each interval after cutting through the stitches to the middle. Because the stitches are already free, this shouldn’t be too difficult. If the liberated thread causes resistance, you’ll probably need to pull the stitch on the next interval. Remove the thread from the seam’s starting with care.
4. Use Scissors Or A Razor Blade To Finish
A wimpy straight pin might have a tough time dealing with the seam’s end. Grab a pair of sharp scissors or a razor blade and carefully snip the stitches out through the seam’s center.
Make sure you don’t cut the fabric while you are doing this. Now that you have gotten this far, this is arguably the hardest part of the work, and you’ll be wishing you had that seam ripper with you.
Bottom Line
Cutting reinforced threads with a seam ripper is inconvenient because the seam ripper tip is too thick to go under the threads.
It is essential to have seam ripper alternatives such as blades and toothpicks to lessen your frustration.
We recommend checking out sewing storage systems.

