Tips for Using Stitch and Seam Rippers
When you’re a sewing enthusiast, ripping out seams is a fact of life. It doesn't matter whether you’re sewing as a hobby or making a small income from a home business. There are always times when some stitches just don’t seem right or the measurements are a little off. In these cases, a proper seam ripper is necessary in any sewing kit.
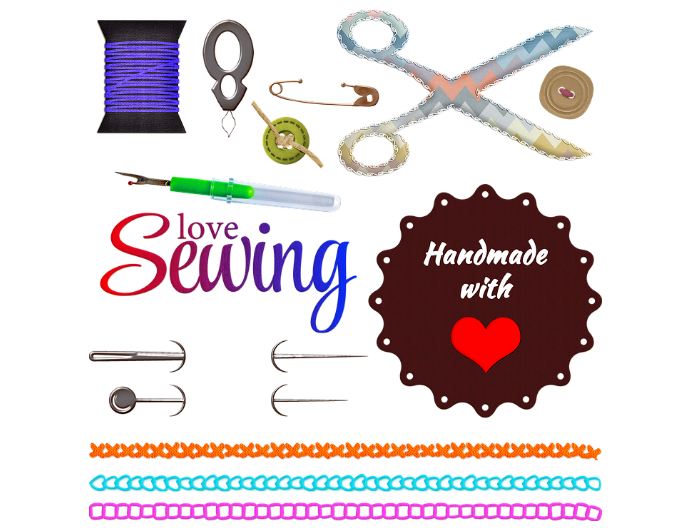
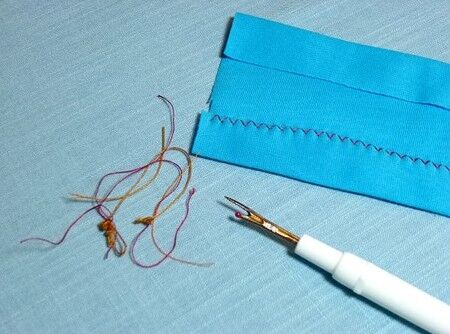
Since taking out seams and stitches are unavoidable in the world of sewing, we should know as much about stitch and seam rippers as possible. These are small tools, mostly consisting of a simple shaft, handle, and a small round head . One side of the head is sharp and pointed, while the other has a round ball, usually red in color. The tool’s main purpose is to cut and remove any stitches that might have been made by mistake or are just getting in the way when you want to refurbish something.
Using a seam ripper is fairly easy, but it never hurts to get some tips for anything related to sewing. Here are some useful guidelines that might help with your projects;
Know The Tool
When you use a seam ripper, know what you’re working with. There are several designs and models out there, which might have different methods of working. Some rippers have large handles that are very easy to hold. If you have joint pain or a slight touch of rheumatism, such handles might be your best option.
You can also find seam ripper handles in all sorts of materials. There are wooden, steel, plastic, and several other options. However, the most basic kinds are quite tiny, measuring little more than a finger’s length for most people.
The size of the tool and the materials it uses will change your experience of unpicking stitches or ripping seams. See if you can use a friend’s ripper and decide whether that specific kind is good for you or not. Using a few rippers here and there will help you decide which one best suits your needs. If this step seems too time-consuming, you can't always get a few different sizes--rippers are usually cheap and easy to find-- and experiment until you find the perfect choice.
Using it Safely
Most seam rippers usually have a pointed tip and a ballpoint tip. By the ballpoint tip, we mean the side with the little ball on top. This is meant to protect the fabric when you’re cutting out your stitches. It will also prevent any injury to your fingers.
The curve between the pointed head and the ballpoint head is the part that cuts the thread The pointed head is used for sliding under the stitches. After this, the ballpoint side will move against the fabric to provide some leverage for cutting but won’t rip the fabric. Still, you have to be quite careful while ripping stitches when the fabric is delicate. If you pull too hard or too sharply, even the ballpoint tip could damage the material you're working with.
Cotton thread is fortunately one of the most common choices for sewing. It’s also one of the easiest threads to cut and unpick. You can learn about the history of cotton thread in order to better understand your sewing materials.
Ripping Hems and Seams
When you want to remove a seam or hem from a fabric, start at the bobbin side. Slide the pointed head of the ripper between the cloth and the thread. Slide the cutting curve inside with a sideways moth, and then pull the ripper upwards as gently as possible. This will hopefully cut the thread, but that's just the basic part. You’ll be using this method or something similar to it for all unpicking tasks.
You might also need to start your unpicking somewhere in the middle of the stitching. If that's the case, unpick the start and end first and then begin the task. Sliding the ripper in sideways is usually the best way.
Picking One by One
If you have to remove backstitching, it’s best to unpick them one by one. This will ensure that every stitch is removed properly. However, this process is time consuming and leaves you with several tiny threads sticking out of the fabric.
One alternative to this is to unpick the first and last stitches and pull out the thread all at once. If the thread snags, you may have to cut it in one or two places. Still, this method is less frustrating and easier than the first one. However, you have to keep in mind just how delicate your fabric is. If you’re working with a delicate silk or chiffon, stick with the slow but sure method of unpicking each stitch separately. There’s no sense in wasting your fine material in the rush to save some minutes.
Unpicking Every Fourth Stitch
When you’re working with regular fabrics and don't have to unpick decorative stitches, edge, stitches, seams, or hems, try this method out. This involves starting on the bobbin side, cutting a stitch, and then leaving 3 to 4 stitches before you cut again. Continue with this pattern and then turn the material to the top thread side. This way, you can simply put the ripper under an uncut stitch and remove large sections at a time. This is a much safer and quicker way that might even work with the more delicate fabrics.
Unpicking Between Fabrics
This is a technique that you can use when undoing hems and seams. You open the fabric up and slide the ripper in between. This will slice up the stitches and allow you to pull the material apart. If you tug a bit, the stitches will loosen up so that you just need to unpick every fourth or fifth one.
This technique involves pulling the ripper away from the material, not towards the other stitches. The pint here is not to save time, but to save the fabric as much as possible. However, be very careful with extra-thin fabric while using this method. They can stretch and tear if you tug on them too much.
Plowing
The plowing method is again suitable only for hems and seam. This involves placing the ripper between fabrics and keeping the ballpoint tip downwards. This way, you might be able to cut all the unwanted stitches through a single push along the fabric’s crease.
This method is usually for confident and experienced sewers as it can easily tear the fabric. While the method is quick, it’s a risky one that you might want to save for personal projects.
Another way is to hold the stitching in a vertical fashion and cutting through it with the help of gravity. You can secure the fabric under a presser foot or pun it under a board. This will free up your hands to move the material and handle the seam ripper.
Other Tips
While using a seam or stitch ripper, there might be little mishaps along the way. These additional tips might help to make your unpicking as flawless as possible:
- When you unpick the stitches, there might be tiny holes left from the needle. You can rub these using your fingernail; this might eliminate the needle points. You can also pull the boss a bit, which will hopefully make the holes disappear.
- If there are numerous tiny threads left after the unpicking, you don’t have to pull them all out separately. Using duct tape or scotch tape might come in handy here.
- If you have to undo a rolled hem, cut a tiny strip off the ends first. This will help you see the stitches that need unpicking
- If you accidentally cut the fabric but the place is an inconspicuous one, you can utilize fusible lightweight interfacing. Place this on the inner side, closing the cut around it as closely as you can. While the cut will weaken the material, the fusible interfacing might mend it.
- Remember, seam rippers don’t last for years on end. You should replace them regularly, preferable when the middle cutting curve loses its sharpness. This can happen more quickly when you use the plowing technique very often. Have some spares on hand for emergencies.
Conclusion
There might be no right or wrong method for using a seam and stitch rippers. However, there are various approaches, efficiency levels, and certain risks you take when using this tool. If used too roughly, the ripper might leave holes in your work or even cause small cuts if you're not careful. The tips above will hopefully help you make the best use of your ripper, especially when dealing with different types of fabric and various stitches.