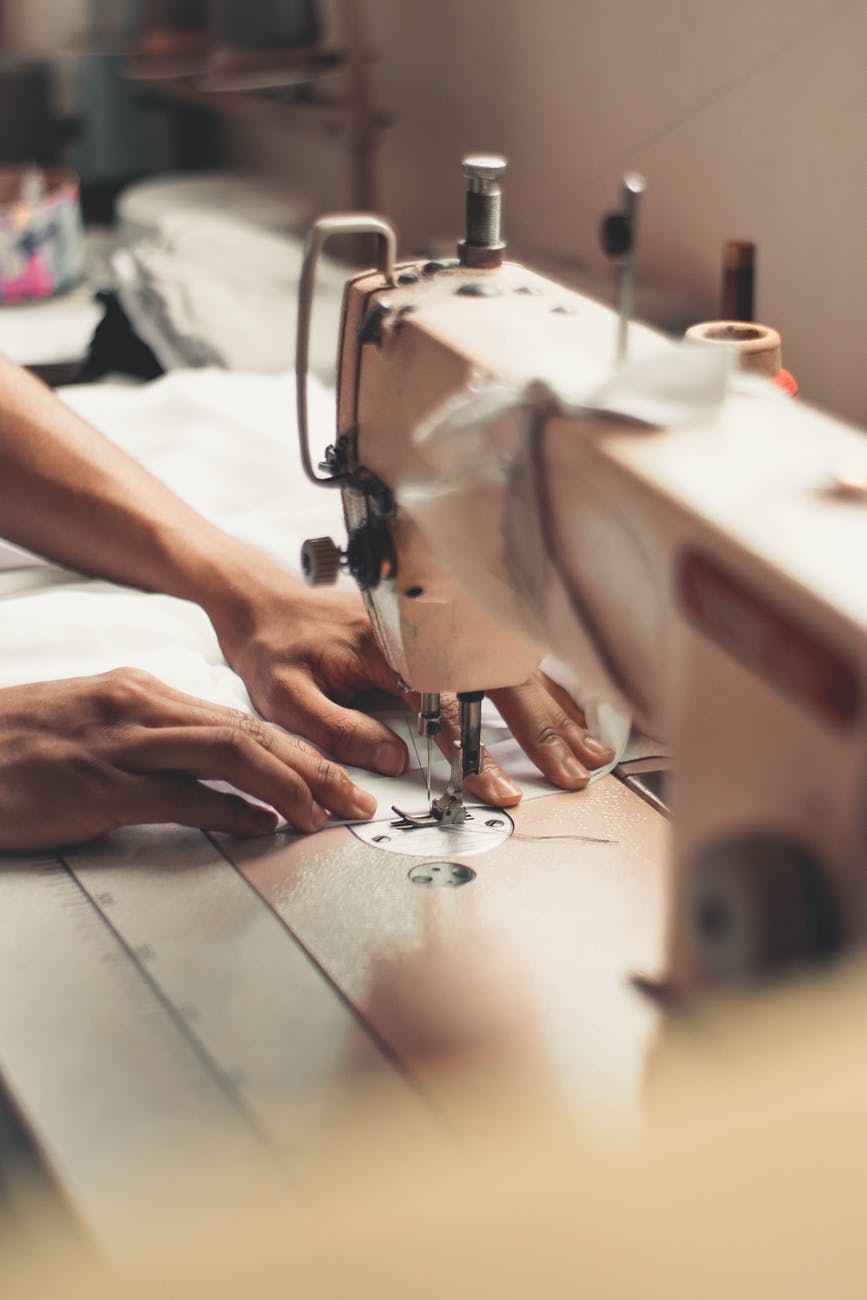
Knowing how to sew elastic with a sewing machine is an important technique that one must learn for garment construction. They are used in waistbands, cuffs, and even smocking. It all depends on the design of your article of clothing, but there is one thing for sure, learning how to sew elastic with a sewing machine is bound to come in handy at some point. If you know how to sew, this will be a piece of cake as all you need to do follow these steps!
Sewing elastic into a waistband or cuff is fast and easy. I will be demonstrating just how quick and simple the process is in the following steps. There are two ways one can sew elastic with a sewing machine. While one technique uses an elastic casing, the other technique involves directly sewing the elastic to the fabric. You can choose either option depending on which method is more comfortable for you. I think that for gentle gathers method one, whereas for fuller gathers method two is most effective.
Method 1: Sewing Elastic directly to the Fabric
Step 1: Mark the wrong side
Start by deciding what side of the fabric you want on the inside; this is called the “wrong side.” Remember that if you are following this method, the elastic should never be on the outside fabric of your design because it will show and potentially ruin the whole look. A quick tip for figuring out what is the wrong side of the fabric is to identify the side with exposed threads.
Step 2: Choose Elastic
Pick either woven or knitted elastic as they are much softer in comparison. This will ensure that the elastic is not too tight around your skin, which can be a nuisance, making wearing clothes uncomfortable. If you’re not sure whether the elastic you decided upon is woven or knitted, you can always consult a professional present at the crafts shop.
Step 3: Cut the elastic
Fold the fabric so that it forms a casing and stitch it on the wrong side with the help of a sewing machine. Remember to leave a grove on the adjacent side after joining the fabric.
Step 4: Pin the elastic
Next, flatten the elastic and place it on the length of the wrong side of the fabric. Stretch it out at both ends of the seam in a way that ½ inch left out of the seam. Pin the elastic in at least three places to the wrong side, so it doesn’t move out of place.
Step 5: Fold the cloth to make a cover
Now you need to fold the cloth such that the elastic is covered. Remember to leave out any required allowance and pin.
Step 6: Sewing
Place both hands on the ends of the sewing machine, stitch the folder part. Sewing the elastic to the fabrics is not essential. Both your hands will hold the fabric and elastic down, so it stays in place as you sew.
Step 7: Join the seams
As the final step, join the seams together at the wrong side while the elastic is still stretched out and cut out any excess materials.
Method 2: Sewing an elastic casing
Step 1: Switch to the wrong side
Just as in step 1 in the first method, you need to identify the wrong side and mark it, so you don’t make any mistakes.
Step 2: Cut the Elastic
Next, cut the elastic you want to use at length less than that of the fabric you want it sewed on instead of sewing it.
Step 3: Fold the Fabric and sew
Fold the fabric so that it forms a casing and stitch it on the wrong side with the help of a sewing machine. Remember to leave a grove on the adjacent side after joining the fabric.
Step 4: Insert Elastic
Pin the elastic with a safety pin to one side of the grove. Next, drag the elastic such that it comes out of the other side of the grove.
Step 5: Join the Seams
Finish by joining the endpoints of the grove and sewing them together.

